How to Use Programmable Memory Scan (PMS) Mode on the Yaesu FT-65R
The Yaesu FT-65R includes a time-saving feature which allows you to limit your scanning to saved sets of lower & upper frequencies.
For example, you could set PMS-1 bank to scan from 144 MHz to 148 MHz, and PMS-2 bank to scan from 420 MHz to 460 MHz. This makes it possible to quickly scan selected ranges of frequencies.
If you travel and want to quickly figure out who’s talking on specific sets of frequencies when you’ve arrived at a new location, this is a great time saver.
This feature is, unfortunately, very poorly documented. Here are the steps that I think should have been put in the manual:
1. How to create a Programmable Memory Scan (PMS) bank
- Enter VFO mode (tap V/M)
- Go to the band you want to use (tap #BAND)
- Type in a frequency. For example, 144.000 for the start of the 2-meter ham radio band in the USA.
- Hold down V/M to store the frequency in memory.
- Now it’s time to pick a special memory bank channel number. Tap Up/Dn (The up/down arrows—you may need to tap a LOT, the first time, or just hold it down) to find memory bank channels L1/U1 through L10/U10. These are channels 201/202 through 210/220 so you may need to hold down the up arrow for a while.
- Fortunately, the radio WILL helpfully switch to U1 for you next time, if you have just programmed L1.
- Start by going to L1, the lower limit of PMS bank 1.
- Hold down V/M to store the frequency in memory.
- Repeat the steps above for U1, the upper limit of PMS bank 1. For example, you could type in 148.000 to use the upper limit of the 2-meter ham band in the USA.
- Repeat again using L2/U2, etc. for any additional ranges of frequencies you want to store.
2. How to modify a PMS bank’s upper/lower frequency
- In VFO mode (tap V/M), after selecting the band you want to use, type in the new frequency
- Hold V/M
- Navigate to corresponding L1/U1 memory position using up/dn.
- Hold V/M to save.
3. How to scan using PMS Memory
- Go into VFO mode by tapping V/M.
- Hold #BAND
- Tap up/dn to choose PMS-N bank, for example PMS-1.
- Tap #BAND to select it.
- Then tap F (bottom button on L side of radio), then #BAND to start scanning.
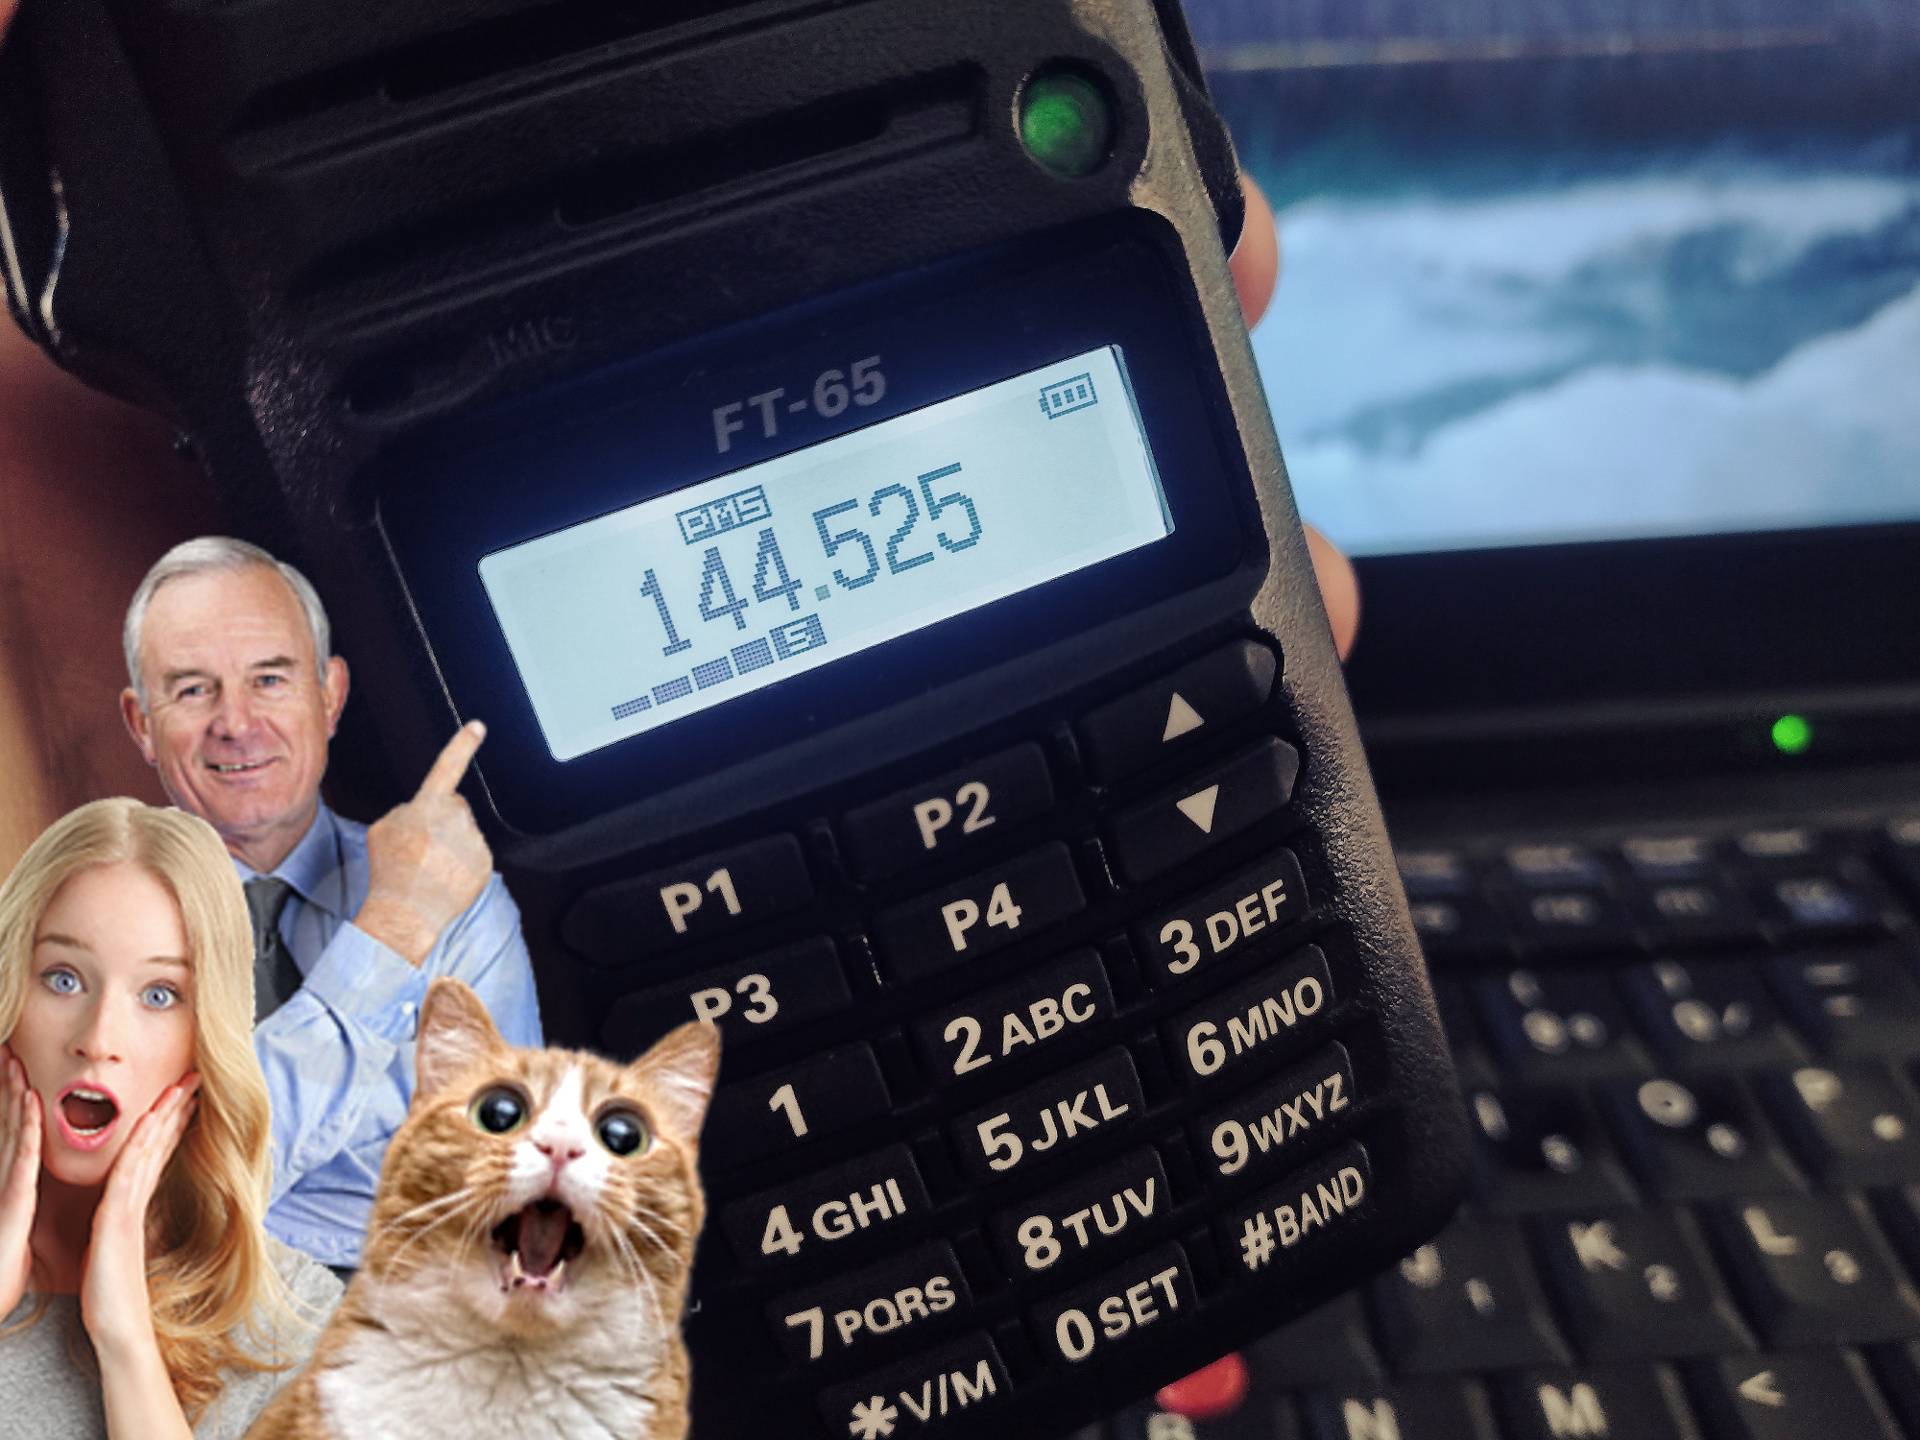
- “PMS” graphic will display on screen while scanning.
- Tap BAND or up/dn to stop scanning. This returns you to VFO mode.
4. Other Notes
Be sure to remove the frequencies from your main scan list, or they will be scanned using the normal scan function:
- Hold down F (lowest button on left side of radio)
- Use up/dn to go to “28 SKIP” menu item.
- Tap F
- Scroll to L1
- Tap F to select it as a skipped item.
- Repeat with other U1/L2, etc. items.
- Press PTT (Push to talk button on side of radio) when done.
If this tutorial made your radio operations more convenient, tips are welcome: $2 USD, $3 USD, or $5 USD.