Alinco DJ-VX50: The KM6NHH Operation Guide
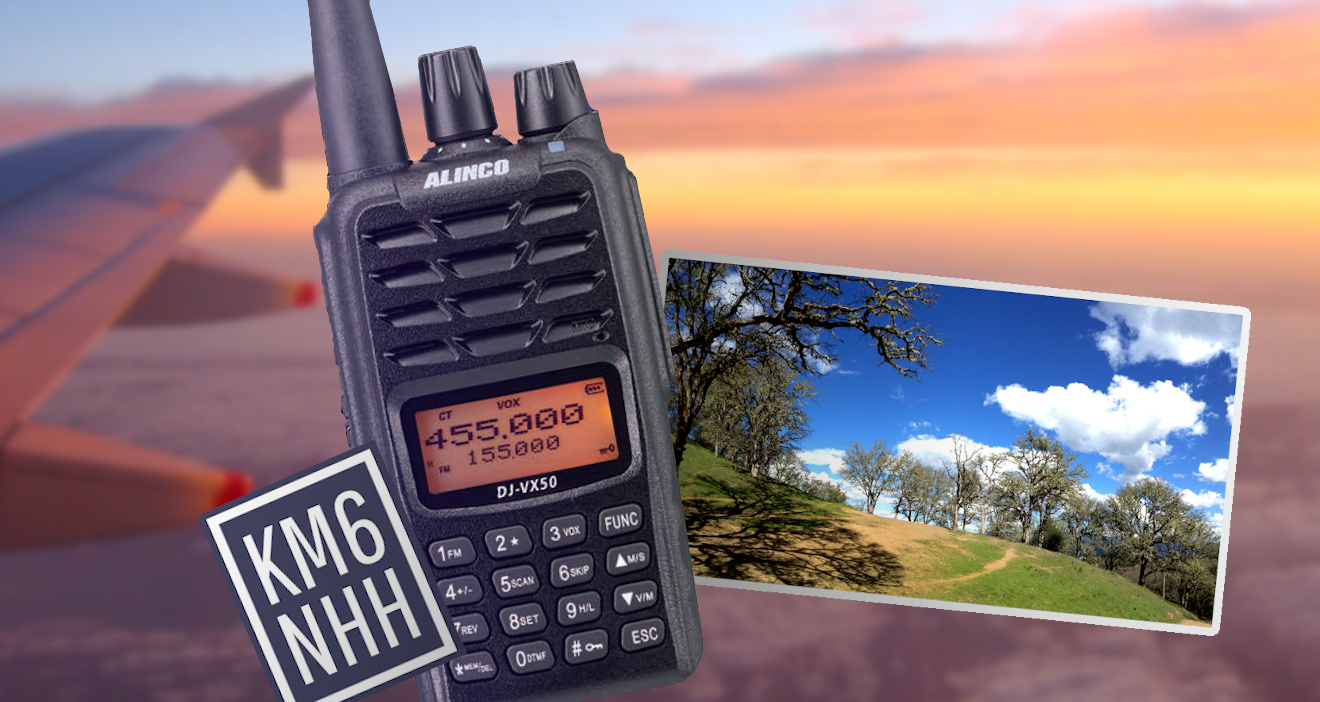
Above: A photo of the Alinco DJ-VX50 overlaid on a sunrise I captured while on a flight from NZ to AUS. Also pictured is a local photo taken on a walk/hike near where I live, in addition to my ham radio call sign.
The Alinco DJ-VX50 is a capable handheld ham radio with some interesting and useful features. I like using mine so far.
While it does come with a user manual, here in the KM6NHH Operation Guide you’ll find a simple, functional reference to some of the most common uses and settings.
Please note that this guide assumes some basic knowledge of using a handheld radio and does not cover turning the radio on/off, etc.
Among the radio’s unusual features: AM air band receive; bright, colored backlight; reasonably strong IP67 weatherproofing…oh and it doesn’t easily tip over when you set it on a flat surface!
General Specifications for the Alinco DJ-VX50
- 136-174 MHz VHF / 400-470 MHz UHF ham radio transceiver (Transmit VHF 144-148MHz; Transmit UHF 420-450MHz)
- FM broadcast 76-108 MHz receiver
- Air band, AM 118-135.995 MHz receiver. Listen to local airport radio traffic and more.
- Weather Band Wx FM: 162.400-162.550 MHz receiver
- Output power is selectable between 5W (VHF), 4W (UHF), 2W, and 1W.
- 200 programmable memory channels
- Alphanumeric channel name-tagging is available from the radio keypad
- Battery-saver mode
- Customizable direction for scanning (up/down)
- Convenient utility knob at top of radio
- Frequency step values from 2.5K to 50K
- Auto keypad lock
- Lots of other conveniences
Operation Guide to Radio Functionality for the Alinco DJ-VX50
Changing Channels and Frequencies, Generally
- Rotate the knob at the top of the radio, OR
- Type in a channel, menu item number, or frequency using the numeric keypad.
General Main Menu Usage
- Tap FUNC, then 8 (SET)
- Use up/down arrows to navigate menu items
- Change item setting with knob at top-middle of radio, or keypad entry (sometimes you have to press * at bottom of keypad first)
- Tap FUNC to save
- Tap ESC to leave menu
Factory reset
Note: Do not factory-reset your radio unless you have a reason to do so. This will delete your memory channels. I had to do the reset on my radio before it would transmit. Otherwise it just beeped when I held down the PTT, and the offset setting seemed to be stuck in the menu.
- Hold down bottom left side button (PF2)
- Start up device
- Change menu RESET to FACT
- Tap FUNC
- Type zero key SIX times 00000-
- It’ll interrupt you after sixth press and will restart the radio.
Save a ham radio repeater frequency to a memory channel
- Enter VFO mode. Tap V/M to enter frequency type-in VFO mode. (You may have to press FUNC > 2 a couple of times if you’re listening to air band or weather radio)
- Type in the repeater’s main frequency.
- Go to the menu by pressing FUNC, then 8 (SET)
- Use the up / down arrows to find menu item 01, for R-CDC. This will allow you to change the repeater’s tone. (Note that you may also need to set the T-CDC for transmit tones, as applicable to your repeater)
- Press 2 (*) to change between different tone modes—CTCSS or DCS. Use the knob on top of radio to change the specific tone setting or freqency. Press FUNC to save.
- Use the up / down arrows to navigate to menu item 09, for OFFSET. Press * (MEM / DEL) at the bottom of the keypad, then type in the offset amount. On my VHF repeater I type 000.600. Press FUNC to save.
- Tap ESC to leave the menu.
- Tap FUNC, then 4 to change the frequency offset direction. The options are + / – / none.
- Set the power level: Tap FUNC, then 9, to toggle between H,M,L power levels.
- Save the settings to a memory channel
- With the frequency on VFO display, tap FUNC, then * (MEM/DEL).
- Pick a channel number to save to, using the rotating knob on top of the radio.
- Tap FUNC to save settings.
Assign an alphanumeric name to a channel memory
- Go to the saved channel you wish to assign the name
- Press FUNC, then 8 (SET)
- Go to menu item 13, CHNAME
- Repeat:
- Rotate the knob at the top of the radio until you reach the character that is blinking.
- Press * (MEM/DEL) at the bottom of the keypad to go to the next character
- Press FUNC to save and ESC to leave the menu.
Delete a channel memory
- Bring the channel to the screen in channel mode
- Tap FUNC then * (MEM/DEL)
- “DEL CH” flashes
- Turn dial to correct channel if needed
- Press FUNC to delete the given channel at that number.
Change to your preferred display mode: freq / memory name tag / channel number display
- Turn radio off
- Hold down bottom button on left side of radio (MONI) and keep it held down
- Turn radio on and you should see DSP for “Display”; release the MONI button
- Rotate knob on top of radio to DISP/CH/FREQ
- Pres FUNC then ESC to save & quit this menu and see your changes.
Change between main band and sub-band (A/B switch)
- Tap the up arrow button (M/S) to toggle the active frequency or channel.
- A star icon will appear on the screen when a signal is audible on the sub band.
- Note: You can split the screen across memory channel and VFO frequency, using M/S to quickly switch between them. This is a nice feature.
Listen to FM broadcast radio
- Tap FUNC then 1 (FM)
- Type in the frequency directly (you do not need to type extra zeroes), OR…
- Use the knob to change frequencies, OR…
- Scan by tapping FUNC then 5 (SCAN).
- Rotate middle knob at top of radio to change scan direction.
- Exit by tapping FUNC then 1 (FM)
- The FM radio will stay on if you turn the radio off, then back on. (Convenience)
- You can (apparently) enable hearing background calls over the ham radio by tapping the PTT button. (Convenience, though it doesn’t work for me! CAREFUL—pressing PTT will instead transmit on the selected Tx channel or frequency, on my radio)
Listen to AM air band radio
- Tap FUNC then 2 (*) until the screen says “AM”.
- Type in a frequency
- Scan by tapping FUNC then 5 (SCAN).
- Rotate middle knob at top of radio to change scan direction.
- Exit by tapping FUNC then 2 (*).
Set AM squelch for air band
- Hold down the middle button on the left side of the radio. The radio will then beep and the screen will say AM SQL.
- Twist the knob to set squelch level for AM.
- Hit FUNC to save
- Press ESC to return to the frequency display.
Listen to weather band radio
- Tap FUNC then 2 uneil the screen says CH0 “Weathe”. Rotate the middle knob at the top of your radio to pick up the closest channel/station.
- Exit by tapping FUNC then 2 (*).
Change to the normal FM ham radio band
- Tap FUNC then 2, repeating until you are back at the ham bands.
- Tap Down arrow button (V/M) to switch between VFO and Memory Channel modes.
Use the Scanning Functions (Generally)
- Press FUNC, then 5 (SCAN)
- Change scan direction by rotating knob on top of radio L or R.
Change the scanning mode
- Press FUNC, then 8 to enter the menu
- Use the up / down arrows to go to menu 18, “SCAN-M” for scan mode
- Turn the knob dial to change the setting
- TO: Time Operation. When it finds a signal, the radio will stop on the frequency or channel for 5 seconds before resuming scan.
- CO: Carrier Operation. When it finds a signal, the radio will stop on the frequency or channel until the carrier (voice signal, etc.) is lost before resuming the scan. This is the mode I tend to use most.
- SE: Search Operation. When the radio finds any carrier signal it will stop there and exit the scanning process.
- Press FUNC to save and ESC to exit the menu.
Skip a channel while scanning
- Press FUNC then 6 (SKIP) while viewing a memory channel.
Set the squelch level
- Go to the main menu: FUNC, then 8 (SET)
- Use the up / down arrows to go to menu 19, SQL.
- Turn the knob / dial to change the setting. 9 is highest; 0 is all the way open / no squelch.
- Press FUNC to save and ESC to exit.
Temporarily open the squelch for monitoring
- Hold down MONI button on side of radio.
- Hold it down for 5 seconds to leave it on, and tap it again to turn it off. (Convenience)
Enable VOX
- Press FUNC then 3
- Repeat the above to disable.
- There are VOX-related functions in the radio menu.
Lock the Radio
- Tap FUNC then hold down # (Key/lock) until a beep is heard.
- Repeat the above to unlock.
- The menu contains an auto-lock setting which enables the lock after 20 seconds of no radio operation.
Use the Emergency Alarm
- Hold down PF1 (middle button on L side of radio)
- PTT (top button on L side of radio) turns off the alarm.
Send DTMF burst tone
- Press and hold PTT button
- Tap the PF1 button (middle button on L side of radio)
- The tone frequency can be changed in the main menu settings.
Can’t transmit / other issues
- Do a factory reset.
- Set OFFSET to all zeroes in the settings and try a simplex frequency.
Other Notes
- The charger light turns from red to OFF when charging is complete. The light does not turn green.
- Do not charge the radio when it is turned on, or the charger can’t detect charge status properly.
- Charging should only be conducted between ambient temperatures of 5C to 40C, or 41F to 104F.
- Do not store the radio or battery in an enclosed vehicle on a hot day.
- Batteries may deplete up to 30% over 3 years. This is normal for li-ion batteries.
My specific opinions on this radio
Pros / Things I like
- The radio is rugged and seems well-made.
- The audio quality is good through the speaker.
- The radio has a convenient knob on top for quickly changing through memory channels, etc.
- The screen backlight is bright and this makes the radio screen easy to read in the dark.
- The radio has a functional LED light to indicate some parts of the functionality.
- The radio is functionally weather-proof.
- The FM broadcast radio will stay on if you turn the radio off, then back on.
- The radio receives AM air band, and includes squelch for AM air band. The radio can also store presets in air band.
- Air band AM and broadcast FM modes each have a VFO mode and memory channel mode.
- The radio has pre-channelized weather station receive functionality.
- The radio is more tip-over resistant than a lot of other radios. When set on a flat surface it is fairly sturdy.
- It is very easy to adjust the power level of a saved memory channel or VFO frequency.
- It is very easy to set a memory channel to be skipped while scanning.
- The MONI function button on the side of the radio provides convenient leave-on functionality if you hold it down for 5 seconds. You can let go and then just tap it once to turn it off again.
- You can split the screen between a memory channel and a VFO frequency, using M/S to quickly switch between them. This is a nice feature that is not very common.
Cons / Things I don’t like as much
- While you can listen to air band and save channels, the air band channels cannot have names, nor can they be scanned alongside the regular ham radio channels. The air band must be scanned separately.
- The volume knob is sensitive to touch and turns up / down a bit too quickly.
- Third-party antennas might leave a slight gap that exposes the antenna connector to the elements and weather.
- The extra buttons for e.g. MONI on the side of the radio are very small and not a great feel for operation.
- The radio screen interface and appearance is very basic.
- The screen menu interfaces seem scattered around (see Adjust AM Squelch) and even indecipherable or inscrutable at first (See Factory Reset process)
- The functional interfaces are similarly awkward, for what would usually be simple functionality (See Lock the Radio)
- It has two star buttons. One is a flattened-point asterisk, and the other is a five-pointed star with sharpened tips!
- The radio ships with a Baofeng-style antenna, which is something of a letdown if you find new or uniqiue hardware components interesting.
- The radio does not have a flashlight. This is unfortunate to some of us, who have found even a simple flashlight useful for visibility & safety while hiking or walking.
- The DJ-VX50 model does not have a numeric battery voltage indicator (FUNC + 2) but its near-twin, the DJ-VX10, does.
Conclusion
Overall I’m pleased with the product. I look forward to taking mine out in the weather! I hope you enjoy using your Alinco DJ-VX50.
If you found this Operation Guide helpful, tips are much appreciated: $2 USD, $3 USD, or $5 USD.
If you’re new to ham radio, or are interested in aspects of radio in general, you may also find my Radio shortcuts page useful.